There’s something special about crafting a piece of art that embodies national pride. DIY American flag wood projects not only allow me to express creativity but also celebrate the spirit of patriotism. Whether it’s a rustic wooden flag for my front porch or a sleek, modern design for my living room, these projects can transform any space into a tribute to the stars and stripes.
With just a few tools and some wood, I can create stunning pieces that are perfect for any occasion. From simple designs that even beginners can tackle to more intricate projects for seasoned crafters, there’s something for everyone. Join me as I explore various DIY ideas that will inspire you to bring a touch of Americana into your home.
Key Takeaways
- Embrace Patriotism: DIY American flag wood projects allow you to creatively express national pride while enhancing your home decor.
- Versatile Skill Levels: These projects cater to all skill levels, from beginners tackling simple designs to experienced crafters exploring intricate patterns.
- Eco-Friendly Materials: Utilize reclaimed wood, plywood, or pallet wood to reduce costs and promote sustainability in your crafting.
- Essential Tools: Basic tools needed include a saw, drill, sander, measuring tape, and clamps to ensure accuracy and safety during the project.
- Creative Variations: Explore rustic and modern styles by incorporating unique techniques such as distressed finishes or geometric layouts, adding a personal touch to your flag project.
- Safety First: Always prioritize safety by wearing appropriate gear and working in well-ventilated areas while using tools and materials.
DIY American Flag Wood Projects
DIY American flag wood projects provide a unique way to showcase national pride while enhancing home decor. Various designs exist, from simple wooden wall art to complex furniture pieces featuring flag-inspired motifs. Each project offers the opportunity to work with different types of wood, allowing for creativity and customization.
Materials for these projects typically include reclaimed wood, plywood, or pallet wood. Utilizing materials on hand can reduce costs while promoting eco-friendly practices. Essential tools often include a saw, drill, sander, and paint or stain for finishing touches.
Skill levels vary, making these projects suitable for everyone. Beginners might focus on basic flag designs made from painted or stained boards, while more experienced crafters may explore intricate patterns or incorporate mixed media elements.
Inspiration can be found in various forms, including online tutorials, social media platforms, and local woodworking classes. Some projects include decorative flag blocks, lawn displays, or large wall hangings.
DIY American flag wood projects enrich living spaces with a personal touch. They serve as conversation starters and reflect individual craftsmanship while celebrating American heritage.
Materials Needed For DIY Projects

Creating DIY American flag wood projects requires specific materials to achieve desired results. Understanding the types of wood and tools enhances the crafting experience.
Types Of Wood
- Pine: Pine is lightweight, affordable, and easy to work with, making it ideal for beginners.
- Plywood: Plywood offers durability and versatility, well-suited for more intricate designs.
- Cedar: Cedar resists rot and insect damage, often used for outdoor projects.
- Oak: Oak provides strength and a beautiful grain, perfect for high-quality pieces.
- Reclaimed Wood: Reclaimed wood adds character and sustainability, creating unique, rustic flag designs.
- Saw: A circular saw or jigsaw cuts wood accurately with ease.
- Drill: A power drill is essential for making holes and driving screws in various projects.
- Sander: A power sander smooths rough edges, ensuring a professional finish.
- Paint or Stain Brushes: Quality brushes apply paint or stain evenly for a polished look.
- Measuring Tape: Accurate measurements prevent mistakes, ensuring pieces fit together correctly.
- Clamps: Clamps secure wood pieces during assembly, maintaining stability and alignment.
Step-By-Step Guide To Creating A Wooden American Flag

Creating a wooden American flag involves thoughtful planning and execution. I’ll walk you through the process step-by-step.
Choosing The Right Design
Choosing a design for your wooden American flag is essential. I often consider options like traditional stars and stripes, distressed finishes, or modern interpretations. I recommend sketching your ideas or using design software to visualize your project. Select a size that fits your space, whether it’s a tabletop piece, wall art, or outdoor display. Take inspiration from online resources, and photo galleries, or even create a unique layout for a personalized touch.
Cutting And Assembling The Wood
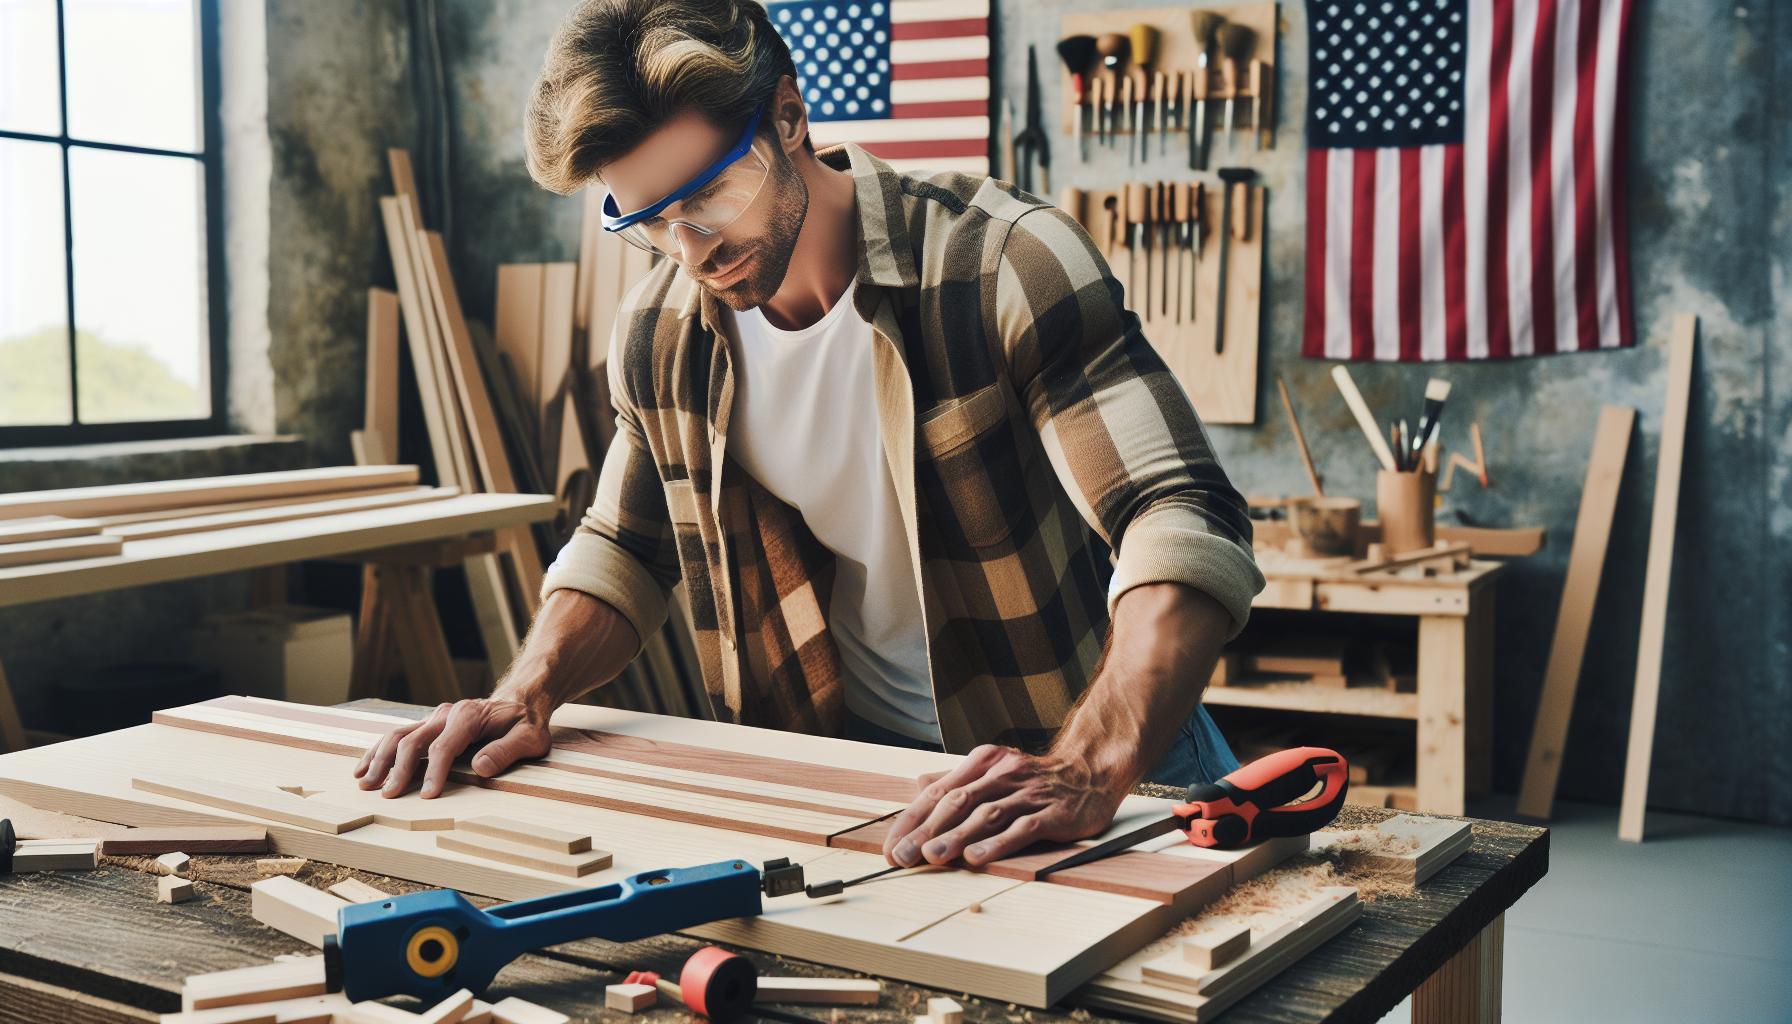
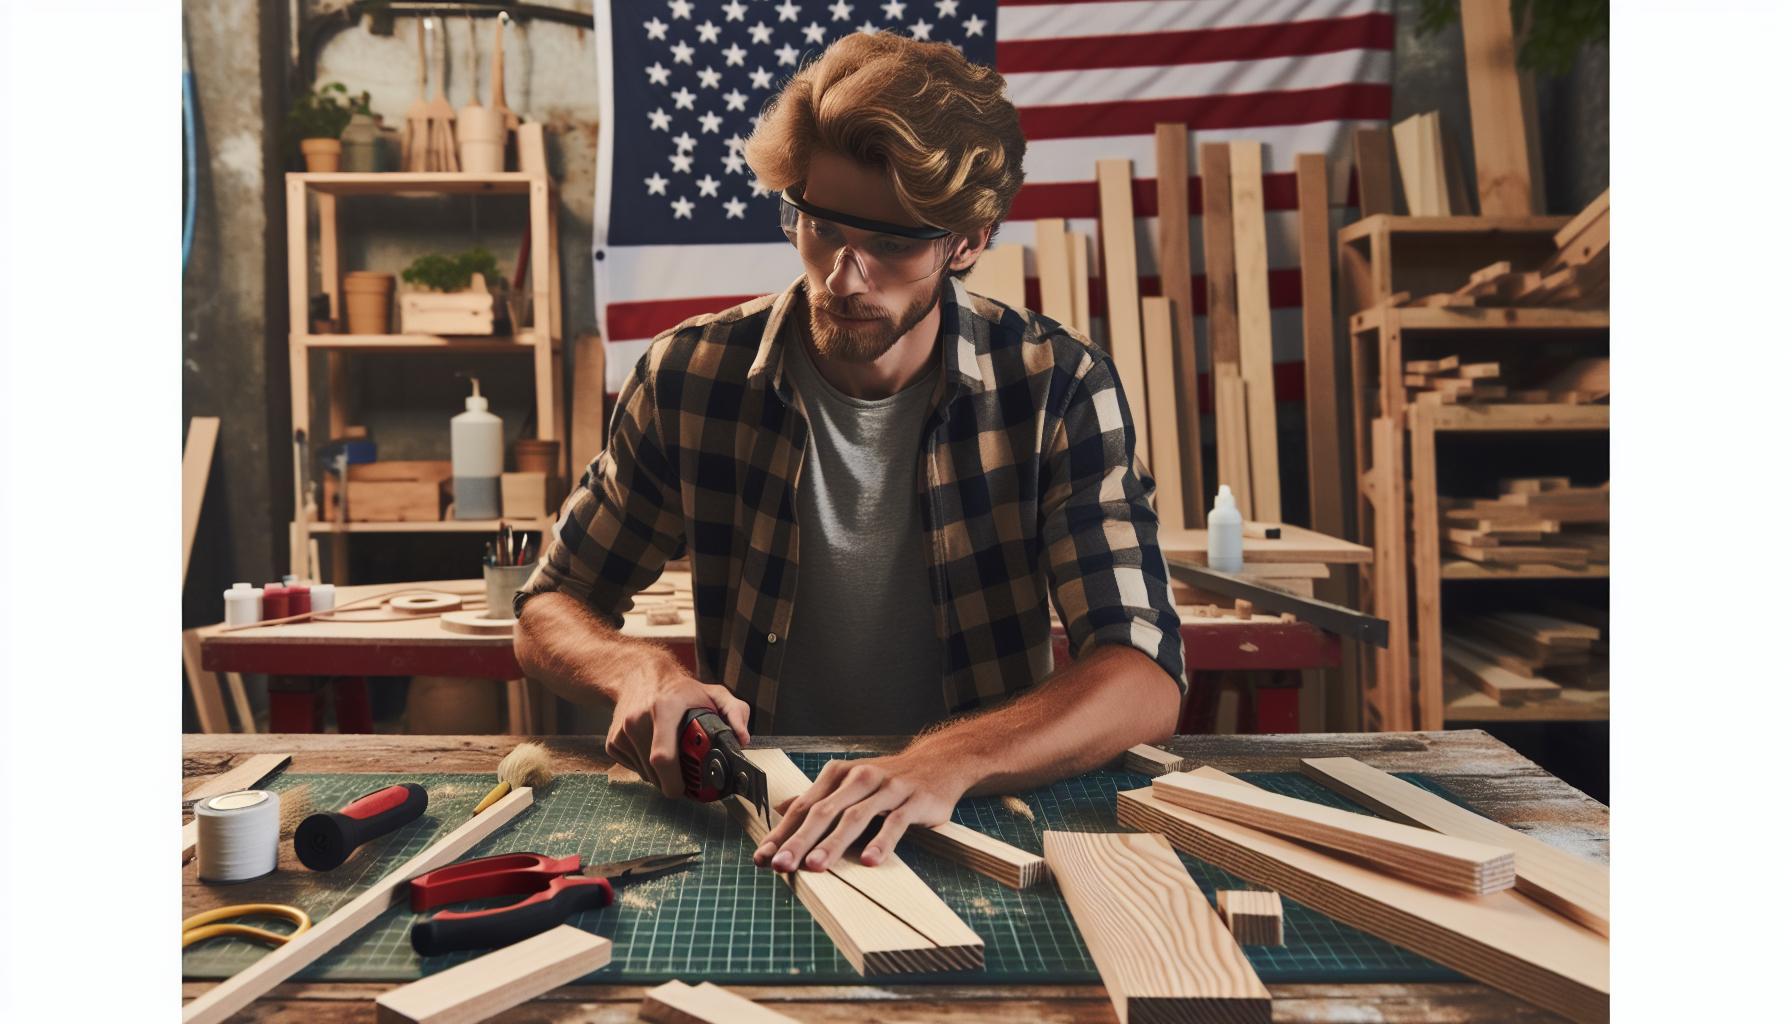
Cutting and assembling the wood is a critical step. I typically use pine or plywood for their workability. First, measure and mark the dimensions of the flag. Use a saw to cut consistent pieces for the stripes and the blue field. I maintain safety by wearing goggles and using clamps to secure the wood while cutting. Once cut, I sand all edges for a smooth finish. Assemble the pieces by intersecting the stripes and securing them with wood glue and screws. I find it helpful to lay everything out flat before final assembly to ensure proper alignment.
Painting Techniques
Painting techniques make the flag visually appealing. I prefer using acrylic paints for their durability and vibrancy. Start with the blue field; I recommend applying two to three coats for even coverage. For the stripes, use red and white paints, ensuring crisp lines. A painter’s tape works well to create straight edges between colors. I often distress the wood after the paint dries to add character; this involves lightly sanding areas to reveal the wood grain underneath. Finally, sealing the flag with a clear coat protects it from the elements, making it suitable for both indoor and outdoor display.
Creative Variations For Your Flag Project

Exploring creative variations for DIY American flag wood projects allows for expression and personalization. Here are two popular styles that capture diverse aesthetics.
Rustic Styles
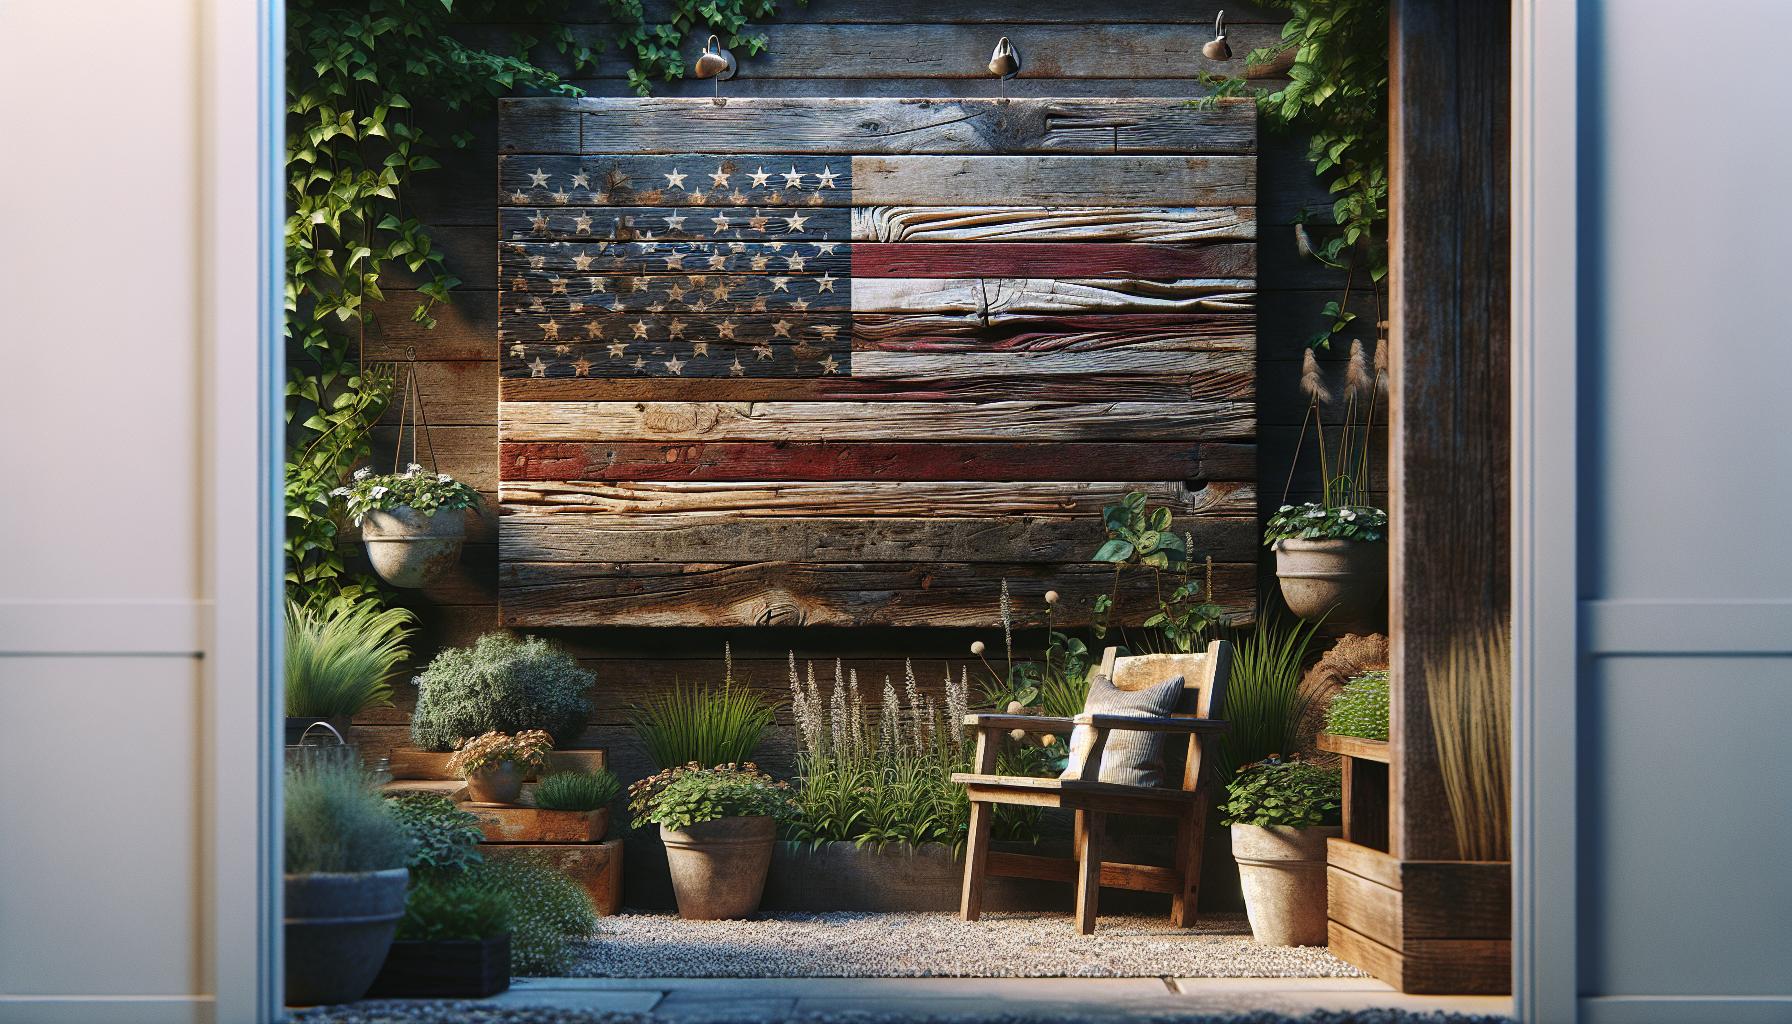
Rustic styles offer a charming, weathered appearance that highlights natural wood features. To achieve a rustic flag project, consider these techniques:
- Reclaimed Materials: Use salvaged wood for an authentic, timeworn look. Barn wood or pallets add character.
- Distressed Finishes: Sand surfaces unevenly or apply a weathered paint technique to enhance the aged effect.
- Natural Stains: Choose oil-based or water-based stains in earthy colors to emphasize grain patterns.
- Texture Variations: Layering wood pieces at different heights creates visual interest and a 3D effect.
- Simple Shapes: Keep designs basic and focus on the beauty of imperfections present in rustic wood.
These approaches create a warm, inviting atmosphere in homes or gardens.
Modern Designs
Modern designs offer sleek lines and minimalism, appealing to contemporary styles. Consider these elements for your modern flag project:
- Geometric Shapes: Play with triangles, squares, or stripes arranged in a unique layout that enhances visual appeal.
- Bold Colors: Experiment with vivid colors or an ombre effect for a fresh take on the classic flag.
- Mixed Media: Incorporate elements such as metal or acrylics for a mixed-media approach that adds dimension.
- Monochromatic Schemes: Opt for a single color palette, focusing on textures and materials instead of multiple hues.
- Large Scale: Design oversized flags as statement pieces, ideal for spacious living areas or outdoor settings.
These modern interpretations elevate traditional symbols while maintaining a strong sense of patriotism.
Tips For Completing Your DIY Project
Completing DIY American flag wood projects involves careful planning and execution. Attention to detail enhances the final result, making it both safe and visually appealing.
Safety Precautions
Prioritize safety when working with tools and materials. Wear safety goggles to protect your eyes from sawdust and debris. Use ear protection to minimize noise exposure when operating power tools. Keep a first aid kit nearby in case of minor injuries. Always work in a well-ventilated area, especially when using paints and stains to avoid harmful fumes. Secure your workpiece using clamps to prevent movement while cutting or sanding. Following these precautions ensures a safer crafting experience and a successful project.
Finishing Touches
Add finishing touches to enhance the appearance and longevity of your project. Sand the edges and surfaces thoroughly to create a smooth finish before painting or staining. Choose high-quality paint or stain to achieve vibrant colors and durable protection against the elements. Consider sealing your project with a clear coat finish. This not only adds shine but also protects against moisture and fading. If desired, experiment with distressing techniques for a rustic look, using sandpaper or chains to create a worn appearance. These finishing techniques elevate the craftsmanship of your DIY American flag wood project.
Creating DIY American flag wood projects is a fulfilling way to express my patriotism while enhancing my home decor. Whether I choose a rustic design or a modern take there’s a project that fits my style and skill level. The versatility of materials and techniques allows for endless creativity making each piece unique.
As I embark on these projects I find joy in the process from planning and crafting to adding those final touches. Every flag I create not only serves as a beautiful decoration but also as a personal statement of pride and craftsmanship. So grab your tools and let your creativity shine—there’s no better time to start than now.
